How to Create an Image Map Without HTML Knowledge
Image maps used to mean fiddly HTML with absolute coordinates, hard to maintain, barely mobile-friendly. Here's how to get the same result today with just a few clicks.

What is an image map?
The term comes from the early days of the web. An HTML image map consists of an image plus a series of <area> elements that define individual regions as clickable zones. Each region can point to a different URL. This turns a single image into a kind of menu or navigation.
Classic use cases were world maps with clickable countries, schematics with linked sections, or product overviews where individual components led to detail pages. These solutions were functionally powerful — but tedious to create.
Why are classic HTML image maps rare in practice?
Three reasons. First, the coordinates of every clickable region have to be written into the HTML in absolute pixels. Anyone scaling or replacing the image later gets to recalculate all of them. Second, classic image maps support neither tooltips nor inline content — a click simply leads to another URL. Third, <area> elements don't scale automatically when the image responds to a smaller viewport. On mobile devices the clickable zones suddenly sit in the wrong places because they're tied to the original pixel grid.
JavaScript libraries exist that solve some of these problems. But they require configuration, manual coordinate entry, and usually a solid understanding of how browsers render images. That very step puts many people off.
What's picpins' alternative?
Instead of writing coordinates, the clickable region is drawn directly in the editor. The image sits in front of the editor, and a tool — point, rectangle, ellipse, or polygon — creates the hotspot through click and drag. The position is stored internally as a percentage, not in absolute pixels. That's the key to mobile compatibility: when the image is displayed at only 320 pixels wide on a small screen, the markers sit proportionally in exactly the same place as on the desktop.
Beyond that: each hotspot carries not just a URL, but an entire content box. Heading, text, image, video, price block, button — all of it sits inside the tooltip. This lifts the historical limitation of HTML image maps to pure links.
How does it work in practice?
After uploading the image, the chosen tool gets clicked into the region or dragged into shape. On a world map, the polygon tool makes sense for tracing country borders roughly. For a product overview, rectangles around individual items are enough. On a hardware exploded view, small points are often more precise than larger areas.
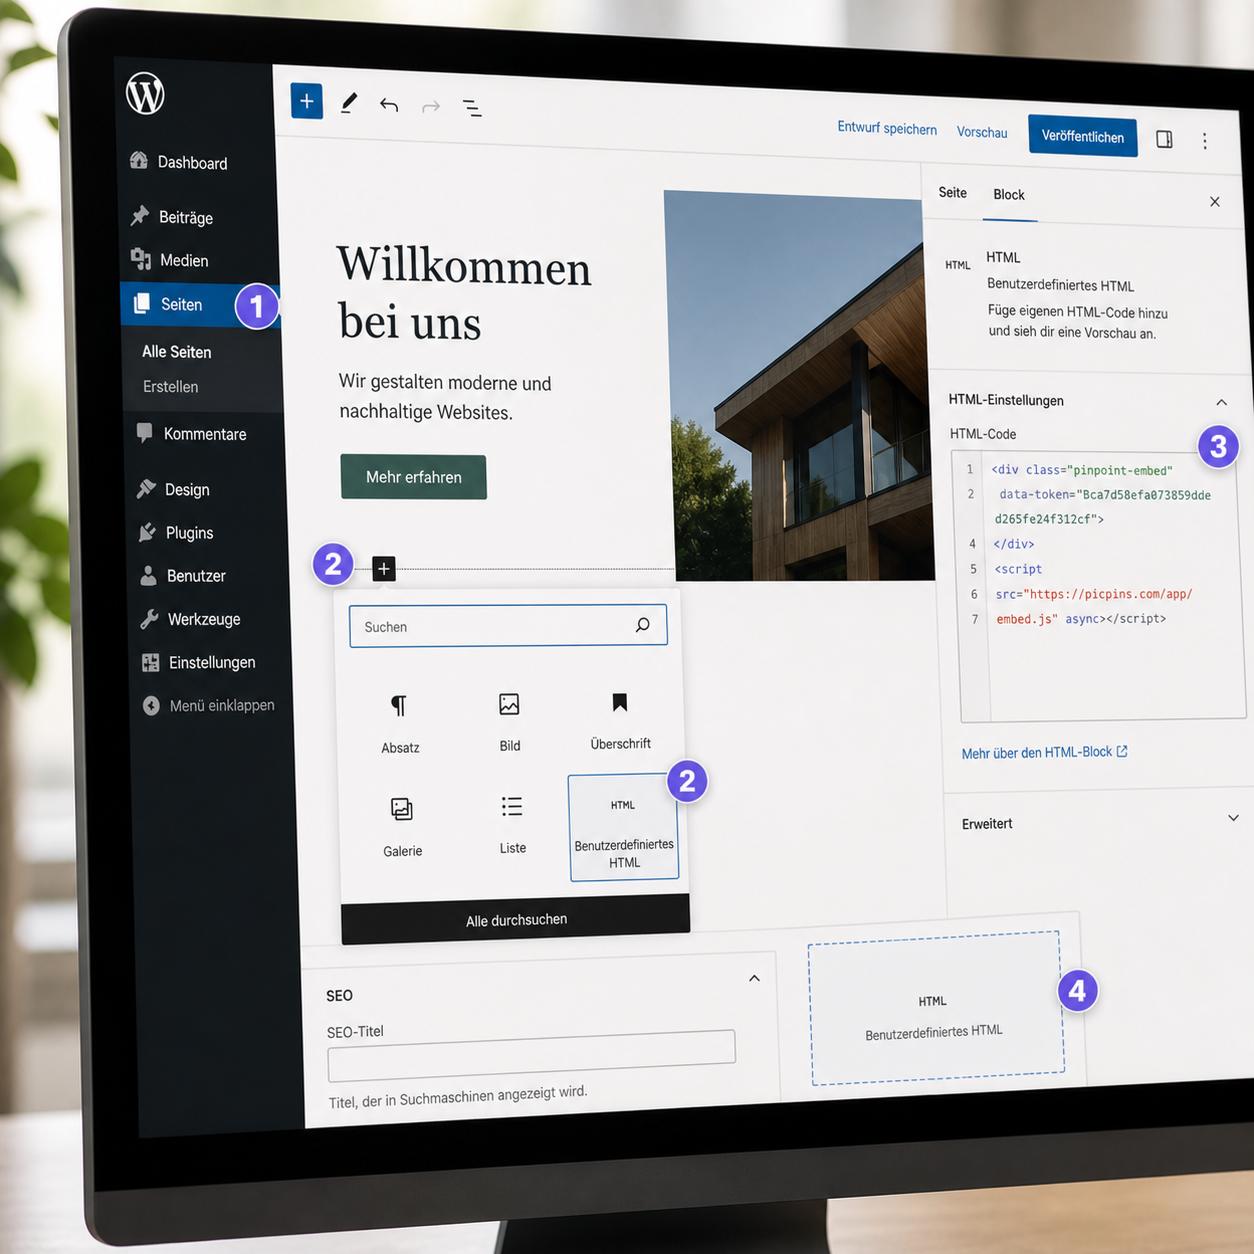
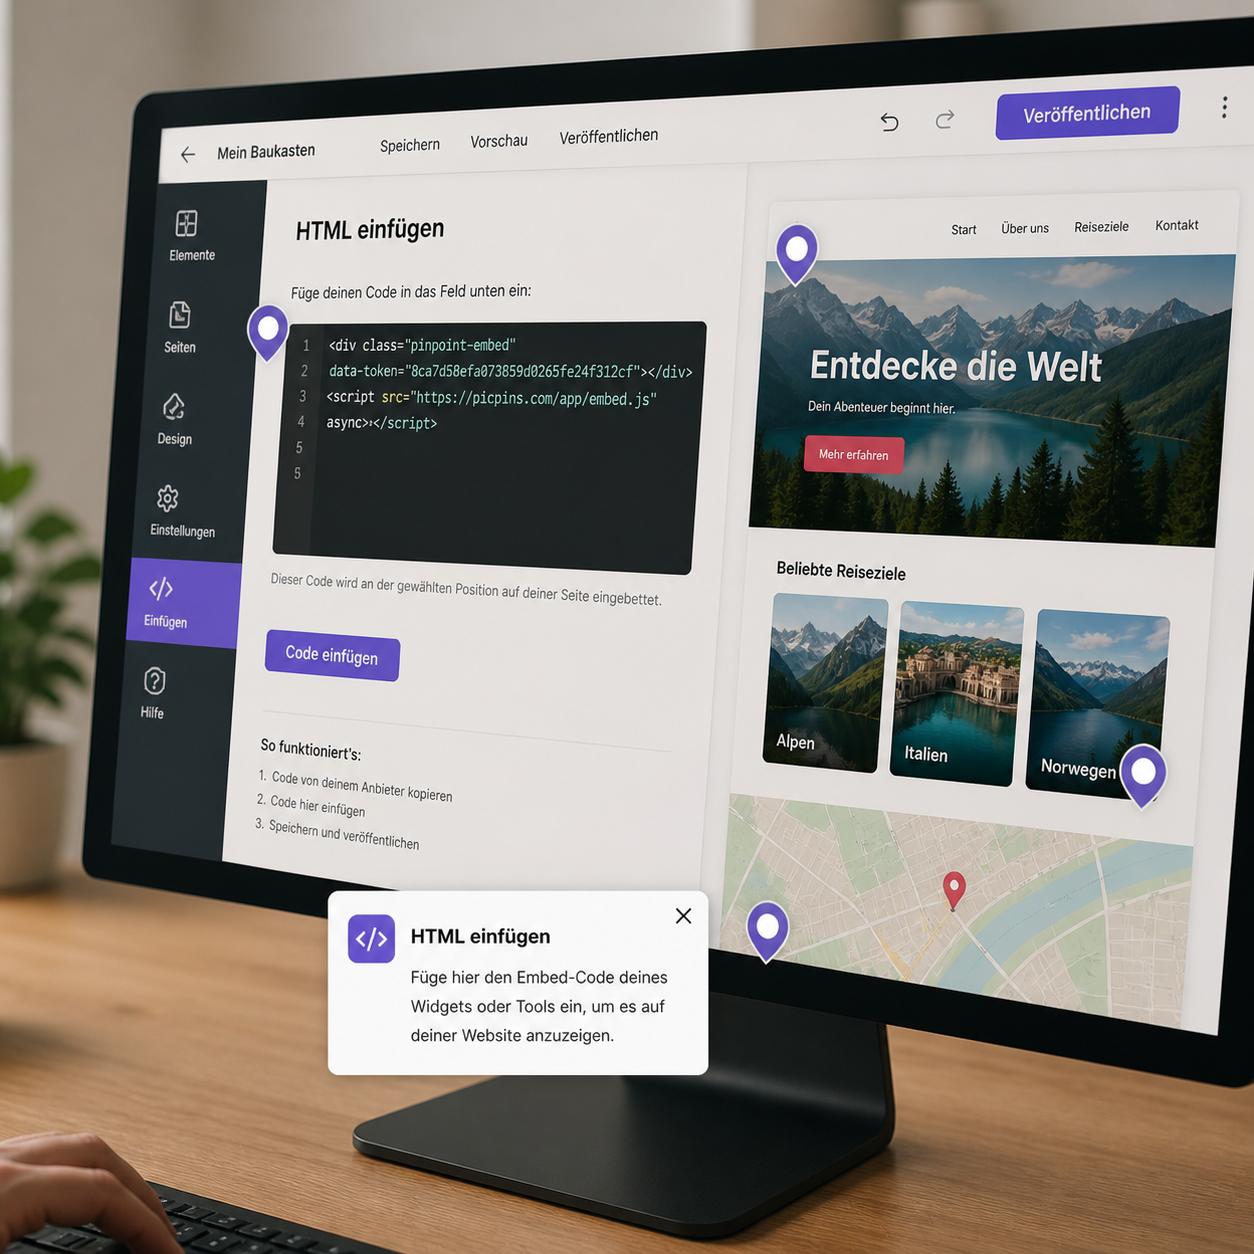
The tooltip content is built in a block editor. For just a link, a button block with a target URL is enough. For richer information, several blocks can be combined in any order. Once everything's in place, the Embed button generates the HTML snippet for embedding.
What happens when the image changes?
This is where the difference to classic HTML image maps shows most clearly. When the image is swapped out later, picpins keeps the percentage-based marker positions. As long as the framing stays roughly the same, the markers still sit correctly. For bigger changes, every marker can be nudged individually — right in the editor via drag and drop, no code required.
Adjusting tooltip text or images applies immediately to every embedded location. An HTML image map embedded in ten different posts would have to be updated in each one separately. With picpins the data lives centrally, and the embed always loads the current version.
So is the HTML image map obsolete?
For specific cases, no. Anyone needing an extremely lean solution without JavaScript, or working in an environment that doesn't allow external scripts, can still put HTML image maps to good use. In all other cases, switching pays off — mainly because of easier maintenance and mobile compatibility.